Pages

Thursday 19 December 2013

Aboriginal Art in Sydney

Sorry to be so quiet whilst out here in Aus - here are a few amazing pieces of Aboriginal Art in the Gallery of New South Wales. Such wonderful patterns and rich history.

Australian 1940's Textile Designs -  Sheila Gray 


Saturday 2 November 2013

Table name paintings

Tom and I decided to use our favourite places in West London as the table names. I really loved making these as the places we chose for the designs were close to my heart.
Firstly, I designed some little paintings for each table. As they needed to be visible from both sides, I traced the original design and then painted them again so that they were identical. The paints I used were gouache on white mount board.
   
The table names in situ!

Friday 1 November 2013

Money saving handmade wedding ideas..

Here are just a few of the quick and easy money saving ideas that we made for our wedding, which we though added the personal touch..

Idea Number One:
Hand drawn chalk boards for signage and directions.. (buy them on ebay super cheap, otherwise, make your own and invest in some chalkboard paint, which you can slap on anything from tin cans, jam jar lids to old board or reclaimed wood!)

Idea Number Two:
An oak stamper made from the English Stamp Company using this design.. I then stamped the back of little kraft labels and encouraged guests to leave us a message on the back almost as a guest book.


Idea Number Three:
Also handwrite labels on vintage found decanters which we filled with port..

Idea Number Four:
Hand typed Orders of service, using the letterpress to stamp the cover with the oak motif and the words 'Order of Service'.

Idea Number Five:
 Hand written place names using a pen and ink, and blank white place cards..

          inky fingers!!
I will add more when I think of them!!x

Thursday 17 October 2013

Handmade Wedding Menu

This was a little quick project using the same designs as the table names paintings.
DIY:
1) Get a printed copy of your menu from your caterer/ venue
2) Handwrite it out with pen and ink! (you can find these in most art shops..)
3) Scan in, and use photoshop to tidy, making sure to make two columns to allow for the central fold.
4) Use a background of the venue/ favourite places/ personalised designs as the background
5) Get printed onto some stiff, A4 textured card, fold,  pop on your tables and bob's your uncle!!

Here are a few images showing how it developed and the final result! The menus in situ..

Thursday 10 October 2013

A handmade sweetie table

Another part of the wedding I really enjoyed putting together...
Aside from more personalised bunting, I had another stamper made for the little sweetie bags which people used to take home their bag of treats! Total hit with guests of all ages might I add!


 Tom and I on the cash and carry sweetie run!! Yum yum!
The design for the stamper:

Wednesday 2 October 2013

Handmade Table Plan

This was a little bit of a last minute jobby using what I had to hand to make it! The base is a piece of lovely dove grey mount board. The designs behind the names were scans of the table names with individuals names' typed on top and then printed.

The little bunting design was made from white paper and twine - very simple indeed!

A close up of one of the name ovals..

Tuesday 1 October 2013

Handmade Hessian Table Runners

One more project for the wedding - and although very time consuming, the effort was definitely worth it!

DIY:

I went to London's Goldhawk Road fabric shops to get my hessian really cheap. I carried mine home on the bus but I'd probably recommend roping in a friend if you buy metres and metres of the stuff!!

The roll measured approx 1.6 m wide so I measured and cut into 4 very long (be neat!!!) pieces.

I hand folded and hemmed the edges by about 1cm on each edge to stop fraying an give a bit of a neater look then whizzed them through the sewing machine for hours and hours till it basically broke!
My glamorous assistant Felicity!


The sweat and the tears in the making
Laying out the runners in the marquee the day before the wedding!

 And the final results in situ!

Monday 30 September 2013

Handmade wedding chutney favours..

I don't have any pics of the works in progress of these little numbers but I thought it was worth sharing a I think the result was really pretty.

DIY...

1) Firstly, I hand wrote out the label, (lots and lots of times till I got it right!)
2) Scanned it in, and reworked in photoshop to produce a design which I then....
3) Had made into a little stamper (just on vista print!).
4) I bought some cute brown labels on ebay and then handstamped the labels.

If anyone really liked, or really wants the recipe - get in touch, it's my mama's and I have it to hand somewhere in my kitchen!
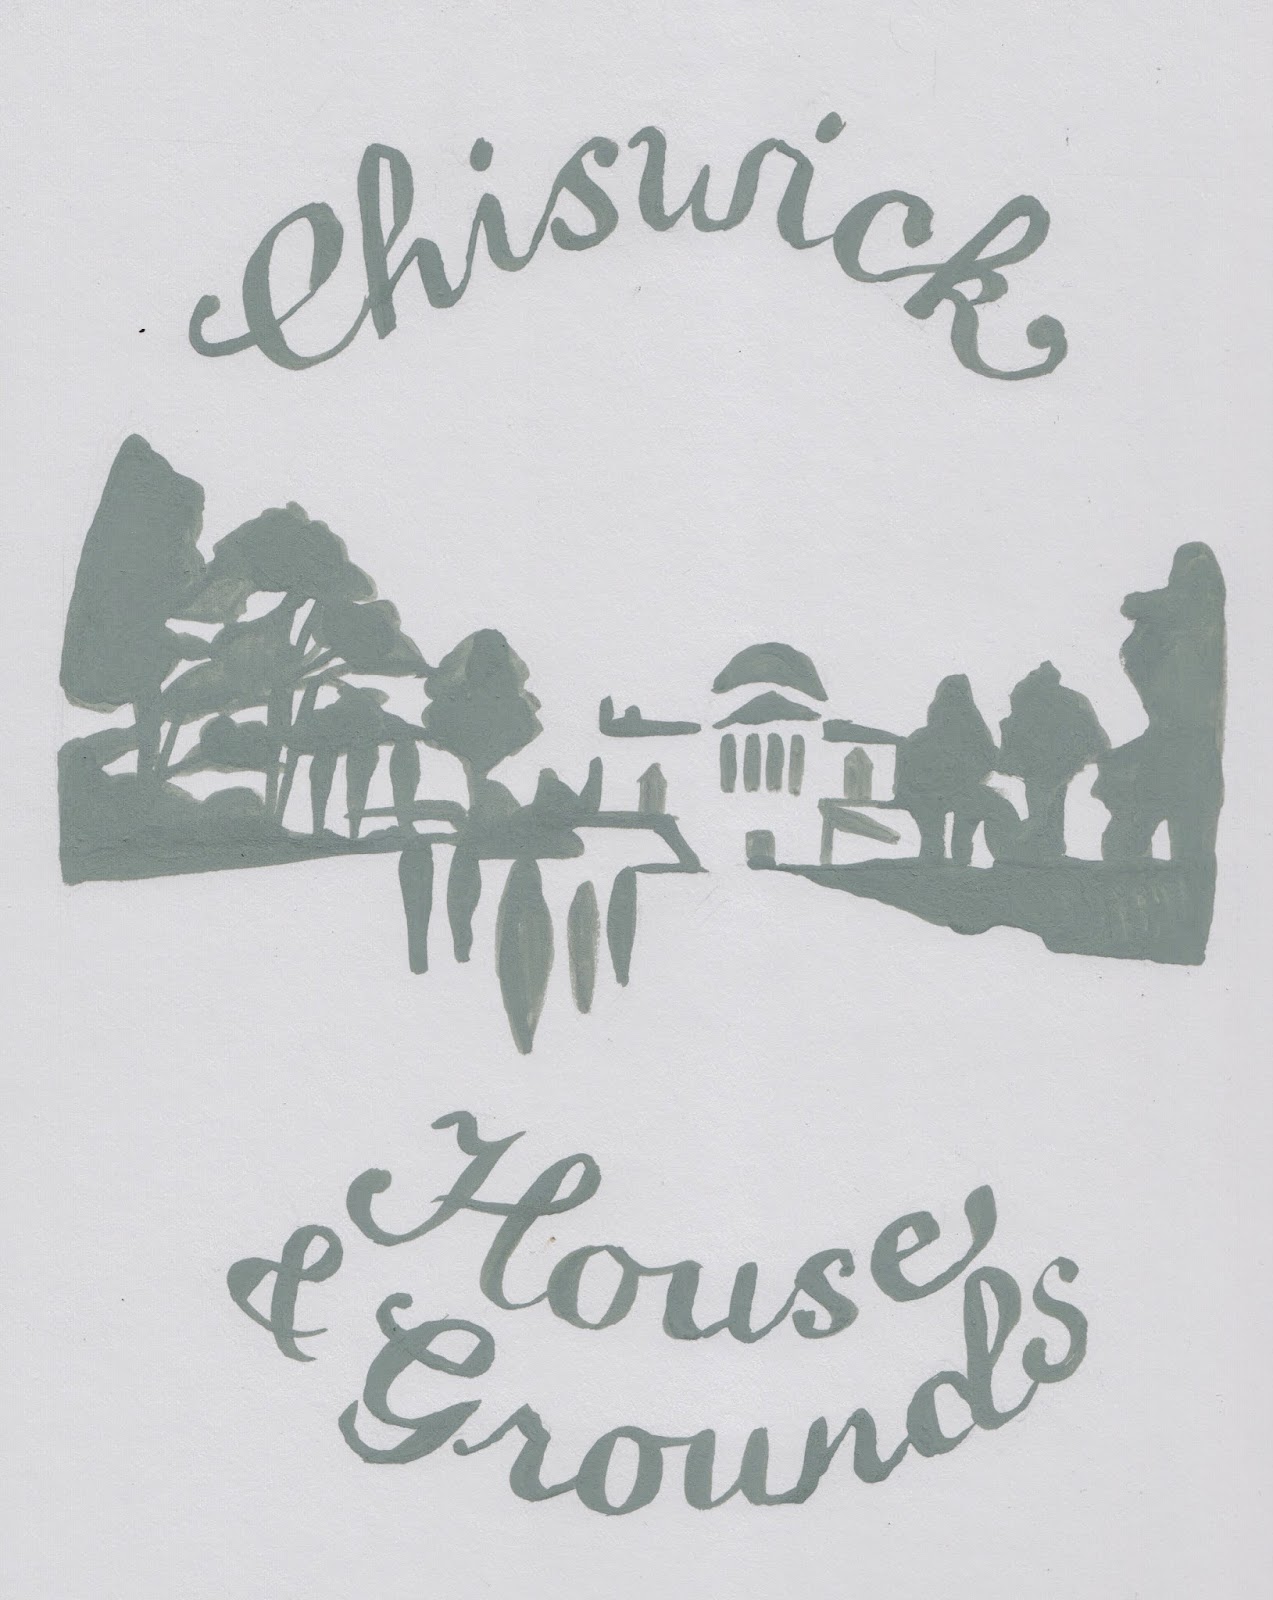
The final design:

Secondly, my mama made vats of delicious homemade apple chutney, and we spooned this into sterilised mini jars (also from ebay). Last but not least, we cut out hundreds of little pastel coloured fabric circles and tied them on with some thin brown twine.

Et voila.. the finished favours!